Aloha there!
Today, I’m going to tell you about Bullet Journaling – a system that has helped me so much and that I hope will help you, too.
A Bullet Journal is a planner, diary, to-do list, scrapbook, tracker, anything you want – all in one place. It’s a way to keep track of every area of your life with only a notebook and a pen. Pretty amazing, right?
All of that sounds great. But what is this Bullet Journal thing exactly?, you ask? Well, I’d prefer to let the creator of the Bullet Journal himself answer that – click right HERE to visit his official website, and head over HERE to check out the explanatory video. When you’re done with that, come back to this post, and I’ll explain a little more. 🙂
So, you might be left feeling a little mind-boggled. What I’d advise is to get some Nutella (that always helps) and to just start a Bullet Journal; there’s no better time than the present. Don’t worry – this post is going to be a step-by-step guide on how to set one up and how to use it once you’re on your way.
So, just grab a notebook – any one will do – and a pen. You don’t a lot of time to set up a bullet journal, or to use it, so please don’t let that set you back from starting one. It’s totally worth it.
Step 1: The Index
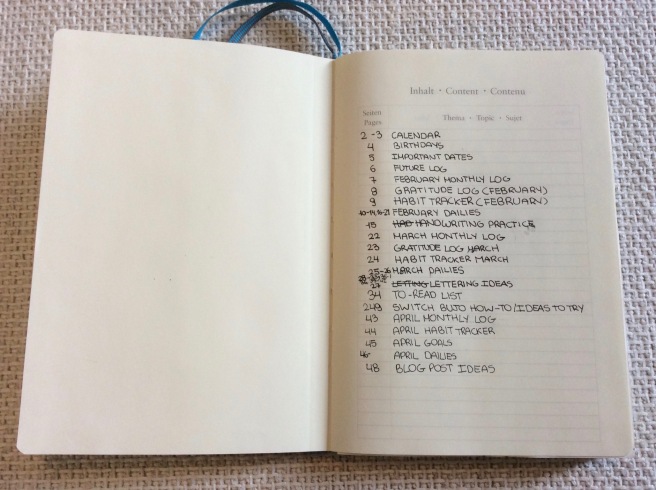
Flip to the first page of your notebook and write ‘Index’ at the top. Then, on the next line, index your Index. XD Basically, write ‘Index’ (again) along with its corresponding page numbers, presumably 1 and 2.
The Index holds your Bullet Journal together. You’ll want to put everything in your Index, except for your individual daily entries. In that case, for example, index all of your daily entries of, say, April under the name ‘April Dailies – pgs. 5-17’. With the Index, you’ll be able to find everything in your Bullet Journal easily. It’s going to be one of the keystones of your journal, so you shouldn’t skip this, however futile it may seem at the moment. 🙂
Also, a little note: as you probably saw from the video, you’ll need to number your journal’s pages as you go along. Seemingly cumbersome? Yes. Definitely worth it in the end and also only takes up about a second? Yes again.
If numbering your pages really irks you, I’d suggest getting a Leuchtturm 1917, which come with pre-numbered pages. 🙂
Step 2: The Future Log
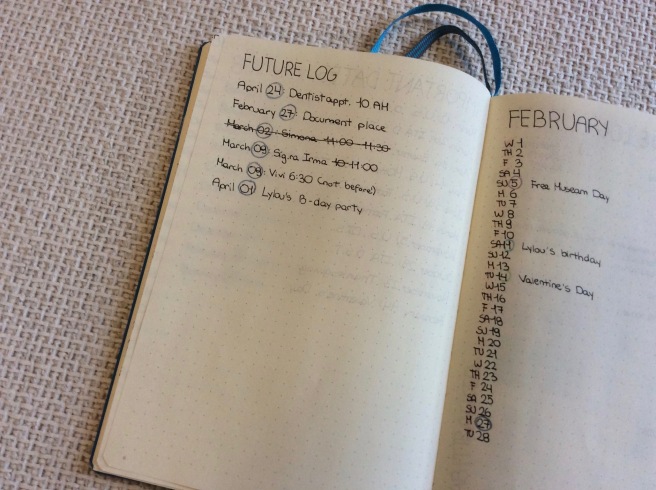
Flip to the next page and write ‘Future Log’ at the top. Then, grab your calendar, planner, or random sticky note and list out all the events coming up in the next year. Anything from your friend’s birthday party to your biannual dentist appointment will go here. 🙂
The Future Log is really what allows your Journal to help you manage your whole life. Anything that’s coming up after the current month can just be written here – no need to remember to transfer it later. It’s brain dump of events that can be filed and left alone until they come up. Remember to number this page and put it in your Index! 😉
Step 3: The Monthly Log
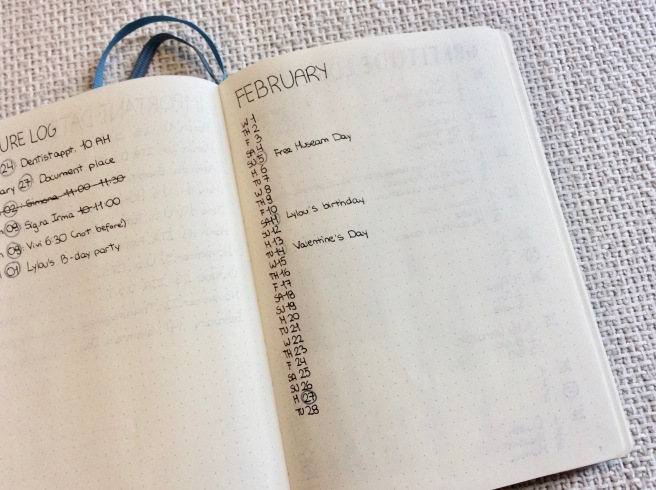
On the next page, write the name of the current month. If you’re reading this in July, write July. If you’re reading this in November, write November. It doesn’t have to be January to start a Bullet Journal! Then, write the days of each month down in a vertical row. You can add what day of the week it will be on each day, but you don’t have to – it’s up to you.
When you’re done with that, you’ll want to list out your events that are happening during the upcoming month, next to the appropriate day.
This helps you to have a visual image of the month and what’s going to be happening. Along with events, I like to write out my weekly classes and indicate if I’m going to be on vacation. This helps me get an even clearer idea of when I’m going be busy and when I’ll have more time.
Step 4: Dailies
Almost there! Now, turn the page and write today’s date at the top. List out what you need to get done today and where you need to go. Look at your Monthly Log and see if you’ve written down an event that’s happening today. If so, add that to today’s journal entry.
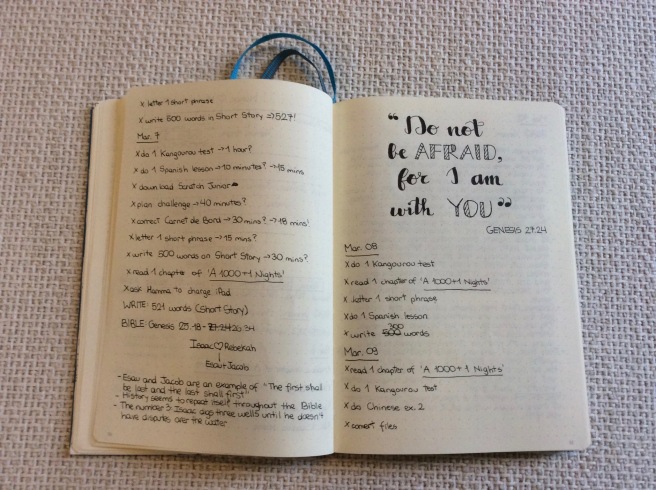
Throughout the day, check off what you’ve completed and add to the list if more things come up. You can also make notes on what you’re reading, a lecture you’re attending, and anything else in your entry. If you want, feel free to add quotes, Bible verses, inspirational words – anything that makes you happy, essentially – to add a little spark to the page.
Remember, your Bullet Journal is yours and yours only: you can use it in any way you want, since it is such a flexible system! 😀 That’s the amazing thing about it!
The Bullet Journal system really helps me to stay organized and be less stressed. I hope you’ll give it a try! If you have any questions, feel free to ask in the comments below. 🙂
What are your thoughts on the system? Are you willing to try it? If you already are using it, how are you using it and what is your favorite/least favorite part?